There is an undeniable, almost intoxicating appeal to saving a totaled car from the scrapyard. For automotive enthusiasts and budget-conscious buyers alike, the prospect of securing a dream car for pennies on the dollar feels like the ultimate life hack. You browse the online auction yards, see a vehicle with seemingly light front-end damage, and instantly begin calculating the massive profit margins or picturing yourself cruising down the highway in a machine you rebuilt with your own two hands. It is a romantic idea, but it is one that requires a massive dose of reality before you ever place a bid. Rebuilding a wrecked chassis is an immense, financially risky, and legally complex undertaking that will test your patience, your technical skills, and your wallet.
Before embarking on this journey, it is critical to understand the paperwork that governs these vehicles. A salvage certificate is a brand issued by a state’s Department of Motor Vehicles indicating that an insurance company has declared the vehicle a total loss. This means the cost of fixing the damage exceeded a certain percentage of the vehicle’s fair market value. When a vehicle holds this certificate, it cannot legally be driven on public roads, registered, or insured for daily use. To get it back on the asphalt, you must repair it entirely and pass a rigorous, state-mandated safety inspection to earn a “rebuilt” title.
This comprehensive guide will walk you through the entire journey of resurrecting a totaled vehicle. We will cover the vital steps of evaluating the initial damage at the auction lot, arranging safe transport, managing the structural teardown, diagnosing hidden gremlins, restoring vital safety systems, and finally getting the vehicle street-legal. By approaching this project with a methodical, highly organized strategy, you can successfully navigate the complexities of the rebuild process.

Evaluating the Damage and Bringing the Project Home
The success or failure of your entire restoration project is decided before you even pick up a wrench. It is decided the moment you evaluate the auction listing. Many buyers fall into the trap of looking only at the cosmetic damage—a smashed bumper or a dented hood—while ignoring the catastrophic structural or mechanical failures lurking underneath. Your primary goal during the evaluation phase is to determine if the vehicle is actually a viable candidate for restoration, or if it is destined to be nothing more than a parts donor.
Inspecting the Frame Before Committing to the Purchase
Whenever possible, you should inspect an auction vehicle in person. Relying solely on low-resolution photos provided by the auction house is a guaranteed way to miss fatal flaws. When you arrive at the lot, you need to look past the shattered plastic and focus entirely on the core architecture of the machine.
-
Check the Unibody Rails: Get underneath the front and rear of the vehicle with a flashlight. Look at the main unibody rails or the traditional ladder frame. If you see severe kinks, accordion-style folding, or tears in the metal, walk away. While metal can be pulled, severe creasing compromises the structural integrity permanently.
-
Look for Fluid Hemorrhages: Check the ground beneath the engine bay. A small coolant leak from a cracked radiator is an easy fix. However, a massive puddle of oil mixed with transmission fluid often indicates that the impact shoved the engine block backward, cracking the casing or destroying the transmission bell housing.
-
Note Airbag Deployment: Replacing deployed airbags, seatbelt pretensioners, and the associated crash sensors can cost thousands of dollars. In many modern vehicles, a blown curtain airbag destroys the interior headliner, adding significant interior restoration costs to your budget.
-
Seek Specialized Opinions: If you are specifically looking to rebuild a heavy-duty diesel pickup for hauling or commercial use, bringing along an experienced truck mechanic to the auction lot is absolutely crucial. These heavy-duty powertrains are incredibly complex, and an expert can help you estimate whether the drivetrain damage is superficial or catastrophic before you commit your funds.
Arranging Safe Transportation to Your Workspace
Once you have won the auction and secured the paperwork, you are faced with the immediate logistical challenge of getting the vehicle to your home garage or workshop. You cannot simply tape up the broken taillights, jump-start the battery, and drive it home.
A vehicle lacking a clean title and current, valid registration cannot legally touch public asphalt. Even if the engine turns over, the radiator holds coolant, and the wheels point straight, driving a salvage vehicle is a severe traffic violation. Law enforcement officers actively look for unregistered, damaged vehicles, and getting pulled over will result in massive fines and the immediate impounding of your new purchase.
To avoid these legal nightmares, you must arrange professional transportation. Discussing the logistics with a local dispatch company to secure flatbed towing is the only way to transport the rolling shell from the auction yard directly to your driveway safely. A flatbed ensures that no further damage is done to the drivetrain, which is especially important if the vehicle is stuck in gear or has locked brakes from the collision.
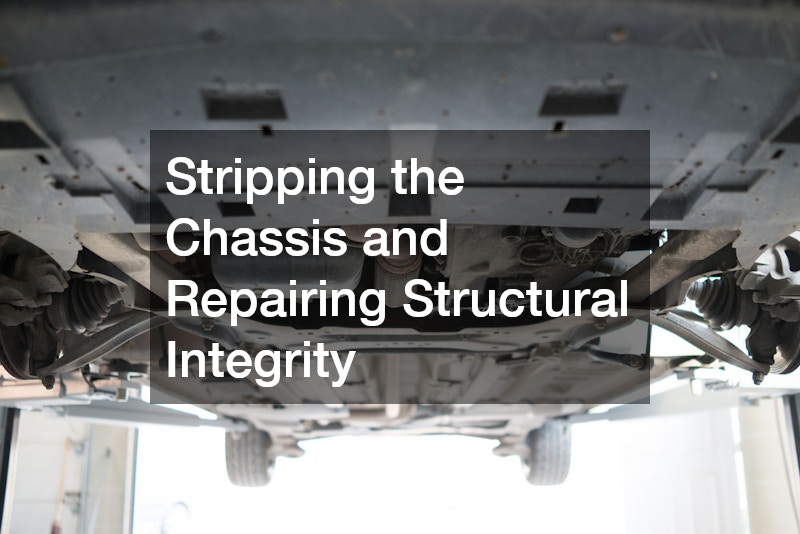
Stripping the Chassis and Repairing Structural Integrity
With the vehicle safely situated in your garage, the real physical labor begins. The teardown phase is often the most revealing part of the project. As you peel back the layers of crumpled sheet metal and shattered plastic, you will inevitably discover secondary damage that was hidden during your initial auction inspection. How you handle this teardown will dictate how smoothly the reassembly goes months down the line.
Documenting the Teardown and Organizing Salvaged Parts
A chaotic workspace leads to lost parts, stripped bolts, and an immense amount of frustration. You must approach the teardown like an archeological dig. Every component must be carefully removed, cataloged, and stored.
-
Bag and Tag Everything: Do not throw bolts into a single, massive coffee can. Buy a box of heavy-duty zip-top bags and a permanent marker. As you remove the front bumper, place all the mounting clips and bolts into a bag labeled “Front Bumper Hardware.” Tape that bag directly to the bumper or place it in a dedicated storage bin.
-
Take Hundreds of Photos: Before you disconnect a single wiring harness or unbolt a bracket, take a clear, well-lit photograph. You will rely on these reference photos months later when you are trying to remember exactly how a specific vacuum line was routed around the power steering pump.
-
Drain Fluids Safely: Before removing crumpled quarter panels or pulling a damaged radiator core support, safely drain the coolant, oil, and freon. Dispose of these hazardous chemicals according to your local municipal guidelines.
-
Assess the Bare Bones: Once the cosmetic damage is stripped away, you must honestly evaluate the chassis. Serious structural manipulation is not a DIY driveway job. If the frame horns are bent or the strut towers are misaligned, the bare chassis must eventually be sent to a certified auto body shop equipped with sophisticated laser measuring systems. These machines use computerized data points to pull the frame back to its exact, factory-specified geometrical tolerances.
Welding Support Pillars and Sourcing OEM Replacements
If your restoration requires cutting out damaged structural metal and welding in new support pillars, apron panels, or core supports, you must adhere to strict guidelines. The state inspectors who will eventually review your rebuilt vehicle are highly trained to look for shoddy craftsmanship.
-
Follow Factory Seams: Whenever possible, drill out the factory spot welds and separate the damaged panels exactly where the manufacturer originally joined them. When welding in a replacement panel, plug weld it in the exact same locations.
-
Source Quality Parts: While aftermarket body panels are cheaper, they often suffer from poor fitment, requiring hours of manual manipulation to achieve even panel gaps. Sourcing used Original Equipment Manufacturer (OEM) parts from a scrapyard ensures the metal aligns perfectly.
-
Keep a Paper Trail: The bureaucracy of restoring a totaled car is just as demanding as the physical labor. Documenting the entire auto collision repair process with itemized receipts, donor vehicle Identification Numbers (VINs), and progressive photographs is a mandatory requirement for passing the eventual rebuilt title inspection. The state must verify that you did not use stolen parts to rebuild your car.
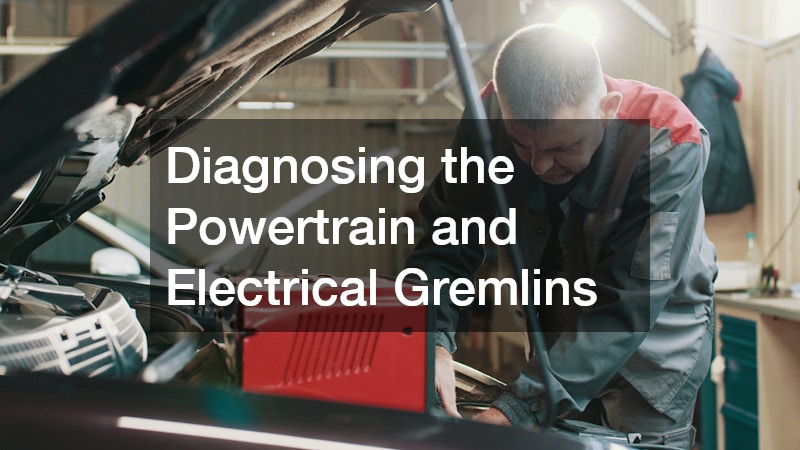
Diagnosing the Powertrain and Electrical Gremlins
Modern vehicles are essentially rolling computer networks. A severe physical impact does not just bend metal; it sends violent shockwaves through delicate electronic control modules, sensor arrays, and wiring harnesses. Diagnosing and resolving these electrical and mechanical gremlins is often the most frustrating and time-consuming phase of the entire restoration.
Mapping the Wiring Harness for Shorts and Cut Lines
When the front end of a vehicle is crushed, the intricate wiring harness that runs behind the headlights, through the fenders, and into the fuse box is frequently severed or pinched.
-
Visual Inspection of the Loom: Carefully unwrap the protective plastic looming around any wires that were located near the impact zone. Look for crushed insulation, exposed copper, or wires that have been sheared completely in half.
-
Proper Splicing Techniques: Never repair a damaged automotive wire with simple electrical tape or cheap twist-on wire nuts. Vehicle wiring is subjected to extreme heat, moisture, and vibration. You must use marine-grade, heat-shrink butt connectors and solder to ensure the connection remains waterproof and highly conductive.
-
Tracing Ground Faults: A single loose or severed ground wire can cause a cascade of electrical failures, from flickering headlights to a transmission that refuses to shift. Tracking down these severed ground wires with a digital multimeter is the only way to permanently clear dashboard warnings and persistent check engine lights that will instantly cause your vehicle to fail a state safety inspection.
Rebuilding the Block and Testing Emissions Compliance
If the vehicle sustained front-end damage deep enough to reach the engine block, you must verify the internal health of the powertrain before attempting to start it.
-
Inspect for Casing Cracks: Use a bright light and a mirror to inspect the underside of the oil pan, the sides of the engine block, and the transmission housing. Hairline fractures in the cast aluminum can lead to catastrophic oil loss under pressure.
-
Check the Accessory Drive: Impacts often shatter alternating pulleys, power steering pumps, and air conditioning compressors. Spin all pulleys by hand to ensure they rotate smoothly without grinding or wobbling.
-
Professional Pressure Testing: If the radiator was pushed into the engine block during the crash, it is highly recommended to partner with a trusted auto mechanic to pressure test the cooling system and the engine cylinders. They possess the specialized leak-down testers necessary to ensure the internal head gaskets and piston rings survived the sudden, violent deceleration of the crash.
-
Verify Emissions Components: A crashed vehicle often suffers damage to the exhaust manifold, catalytic converters, or oxygen sensors. Ensure these components are replaced with compliant parts, as the vehicle will have to pass a strict emissions test before it is allowed back on the road.
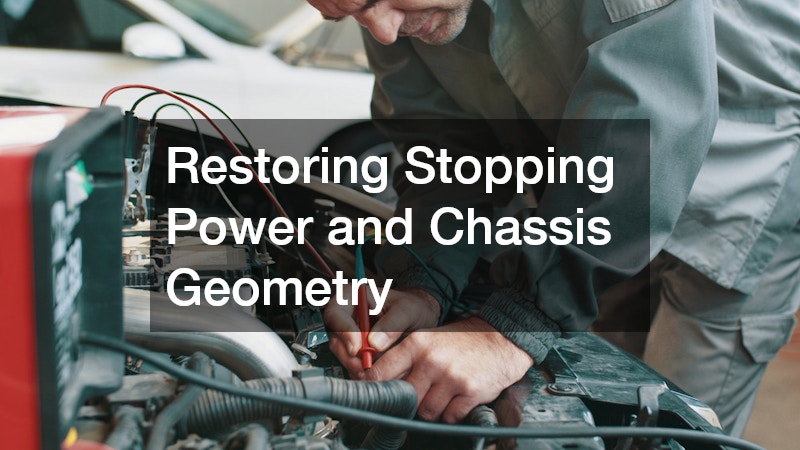
Restoring Stopping Power and Chassis Geometry
Once the engine is running smoothly and the structural metal is straight, you must shift your focus to the absolute non-negotiables of vehicle safety. A car that can accelerate is useless and incredibly dangerous if it cannot stop effectively or track straight down a highway. The braking and suspension systems are rigorously scrutinized during the rebuilt title inspection, and there is zero margin for error.
Replacing Fluid Lines, Pads, and Warped Rotors
The violent forces of a collision can wreak havoc on a vehicle’s hydraulic braking system. Hard metal brake lines can be crimped against the frame, and flexible rubber hoses can be stretched or torn.
-
Inspect Hard Lines for Restrictions: Trace the thin metal brake lines from the master cylinder down to each individual wheel hub. Run your fingers along the lines, feeling for any pinches, sharp bends, or deep rust spots that could rupture under panic-braking pressure. If a line is compromised, bend and flare a completely new line.
-
Overhaul the Friction Components: Do not reuse brake pads or rotors from a severely wrecked car. Rotors can warp from the impact, and pads can become contaminated with leaked oil or coolant. Install high-quality, brand-new ceramic or semi-metallic pads and freshly machined rotors.
-
Purge and Bleed the System: Old brake fluid absorbs moisture over time, reducing its boiling point and compromising pedal feel. Flush the entire system with fresh fluid, ensuring there are absolutely no air bubbles trapped in the ABS module or the calipers. Passing the highway patrol’s strict scrutiny requires flawless brake repair using premium components, as the inspector will test the pedal firmness and stopping distance rigorously.
Calibrating Steering Angles for Highway Speeds
A vehicle’s suspension geometry dictates how it handles, how it reacts to evasive maneuvers, and how evenly the tires wear. After a front-end or side-impact collision, this geometry is almost always destroyed.
-
Replace Bent Suspension Components: Never attempt to heat and bend a crumpled lower control arm, a bent tie rod, or a warped MacPherson strut back into shape. Heating suspension steel destroys its metallurgical tempering, making it brittle and prone to catastrophic failure. All bent suspension components must be replaced with new or verified straight used parts.
-
Check the Steering Rack: Ensure the steering rack did not suffer internal damage. Turn the steering wheel from lock to lock while the front end is elevated, feeling for any binding, grinding, or dead spots in the rotation.
-
Precision Calibration: Eyeballing a suspension setup in your driveway is impossible. Once the new suspension components are bolted in and torqued to factory specifications, securing professional alignment services is legally and practically required. A laser alignment machine will adjust the camber, caster, and toe angles down to a fraction of a degree, preventing severe tire wear and eliminating dangerous, unpredictable steering pull at highway speeds.
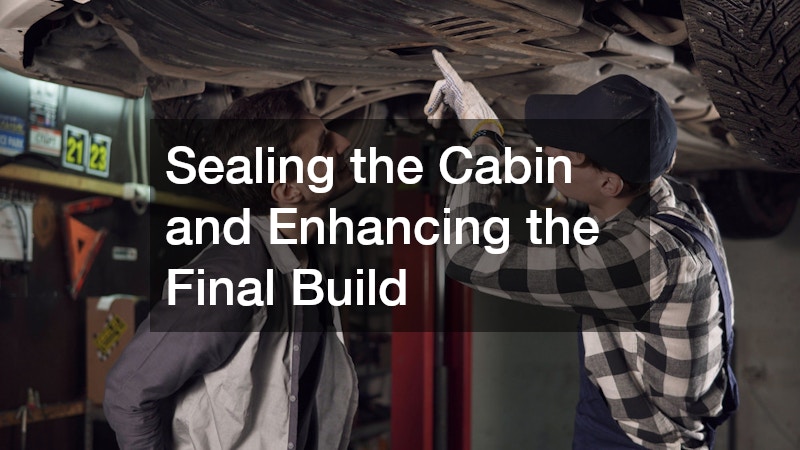
Sealing the Cabin and Enhancing the Final Build
You are now in the home stretch. The frame is straight, the engine purrs, and the suspension geometry is dialed in perfectly. The final phase involves sealing the passenger cabin against the elements, ensuring maximum visibility, and adding the finishing touches that transform the vehicle from a resurrected wreck into a comfortable, reliable daily driver.
Installing Weather Stripping and Ensuring Vision Clarity
A vehicle that leaks water or whistles loudly at highway speeds is miserable to drive and will quickly suffer from interior mold and rust. The exterior barriers of the cabin must be pristine.
-
Check Door Seals and Cowl Drains: Inspect the rubber weather stripping around the doors, the trunk, and the sunroof. If the rubber is dry-rotted, torn, or compressed, replace it. Clear out the cowl drains at the base of the windshield to ensure rainwater flows harmlessly away from the firewall.
-
Verify Exterior Lighting: Every single exterior light—headlights, taillights, turn signals, reverse lights, and license plate illuminators—must function perfectly. Polish hazy headlight lenses to ensure maximum nighttime visibility.
-
Address the Glass: During a collision, the structural flexing of the unibody frequently causes the front or rear glass to crack. Even a tiny spiderweb fracture will rapidly expand under the stress of daily driving. Furthermore, state inspectors are incredibly strict regarding driver visibility. Any cracks, deep chips, or pitting in the driver’s direct line of sight will immediately fail the safety inspection, making professional windshield replacement a critical final step before you even attempt to book your appointment with the state.
Integrating Modern Comforts and Performance Parts
With the heavy labor complete and the vehicle prepped for its final inspection, you are finally presented with a highly rewarding opportunity. Rebuilding a car from the ground up provides the perfect blank canvas for personalization.
Because you bought the vehicle at a salvage auction for a fraction of its retail value, and because you invested your own sweat equity into the labor, you likely have a significant amount of financial headroom left in your original budget. Rather than just restoring the car to its exact, factory-base specifications, you can strategically improve it.
The thousands of dollars you saved on the initial purchase price can now be safely rolled into premium auto upgrades that enhance the driving experience. Consider modernizing the interior with a new touchscreen infotainment system featuring Apple CarPlay or Android Auto, swapping out the factory cloth seats for custom leather upholstery, or installing a cold air intake and a specialized exhaust system to slightly boost the engine’s breathing efficiency. These personal touches not only make the vehicle significantly more enjoyable to drive, but they also serve as a daily reminder of the hard work, dedication, and technical skill you invested in bringing the machine back to life.
Conclusion
Transforming a crumpled piece of auction-yard scrap metal into a fully functional, reliable, and street-legal machine is a monumental achievement. It is a grueling marathon of scraped knuckles, frustrating electrical diagrams, and tedious bureaucratic paperwork. However, the reward extends far beyond simply owning a heavily discounted vehicle. When you restore a salvage car from the ground up, you gain an intimate, encyclopedic knowledge of how your specific vehicle operates. You know the exact torque specifications of the suspension bolts, the routing of the wiring harness, and the pristine condition of the brake lines, granting you a level of driving confidence that a standard dealership purchase can never provide.
As you prepare to put your newly restored vehicle on the road, organization is your final hurdle. Gather your massive folder of parts receipts, your before-and-after photographs, and the certificates from your frame and alignment specialists. Place everything neatly in a binder. Approach the state inspection station with confidence, knowing that your rebuild was done systematically, safely, and without cutting corners.
If you are feeling inspired to take on this challenge, do not rush straight to an online auction. Start small and methodically. Spend this weekend researching your specific state’s Department of Motor Vehicles requirements for rebuilt titles, mapping out your budget, and assessing your tool collection, so you are fully prepared when the perfect project car finally catches your eye.